Creating your first Prompt
Create a simple Prompt in under a minute.
Creating a Prompt in less than 1 minute
Creating a Prompt, Watch this video to create a simple prompt in under a minute using the PromptBros Desk.
Steps to create an AI Prompt on PromptBros.ai
Creating an AI prompt on PromptBros.ai is straightforward process. Follow these steps:
Step 1: Sign Up or Log In
Head to the PromptBros.ai website and sign up for an account if you haven’t already. For existing users, simply log in to access your account.
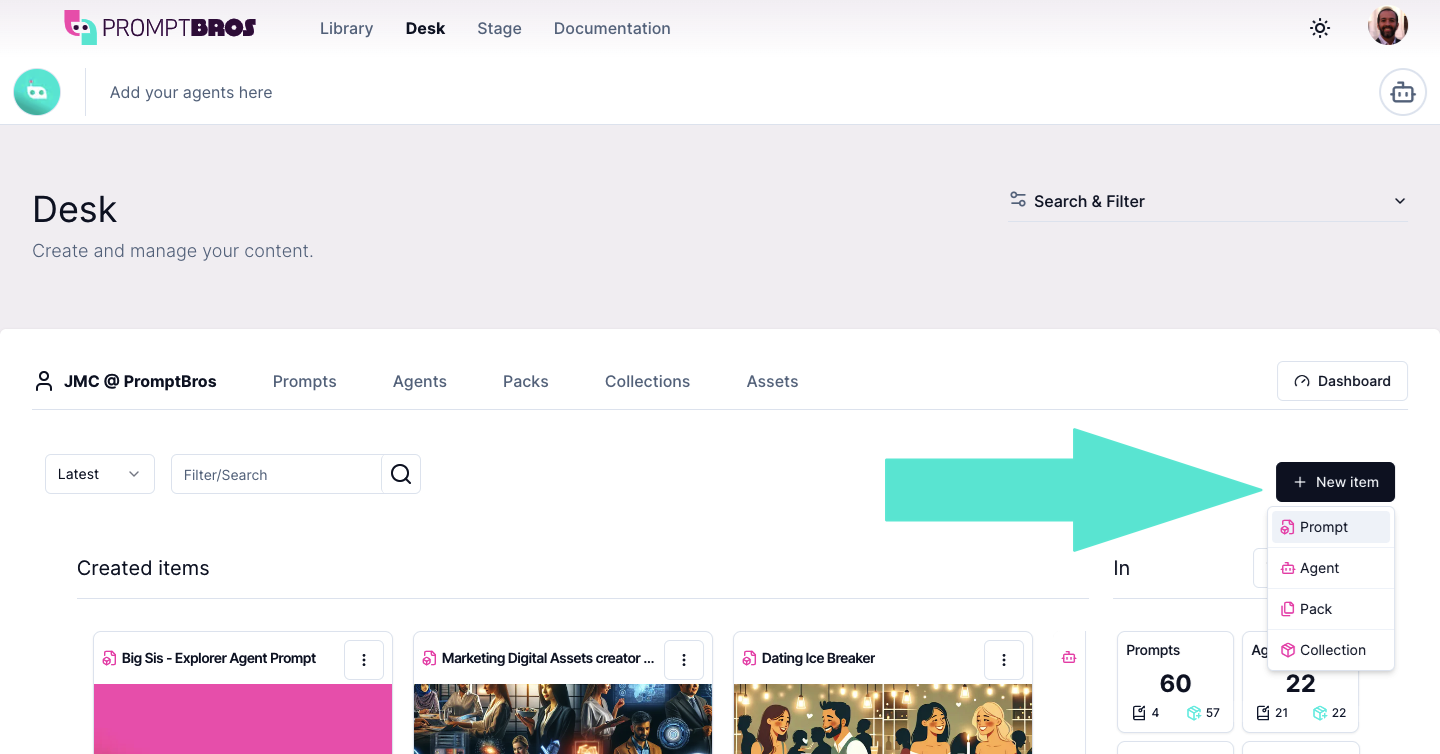
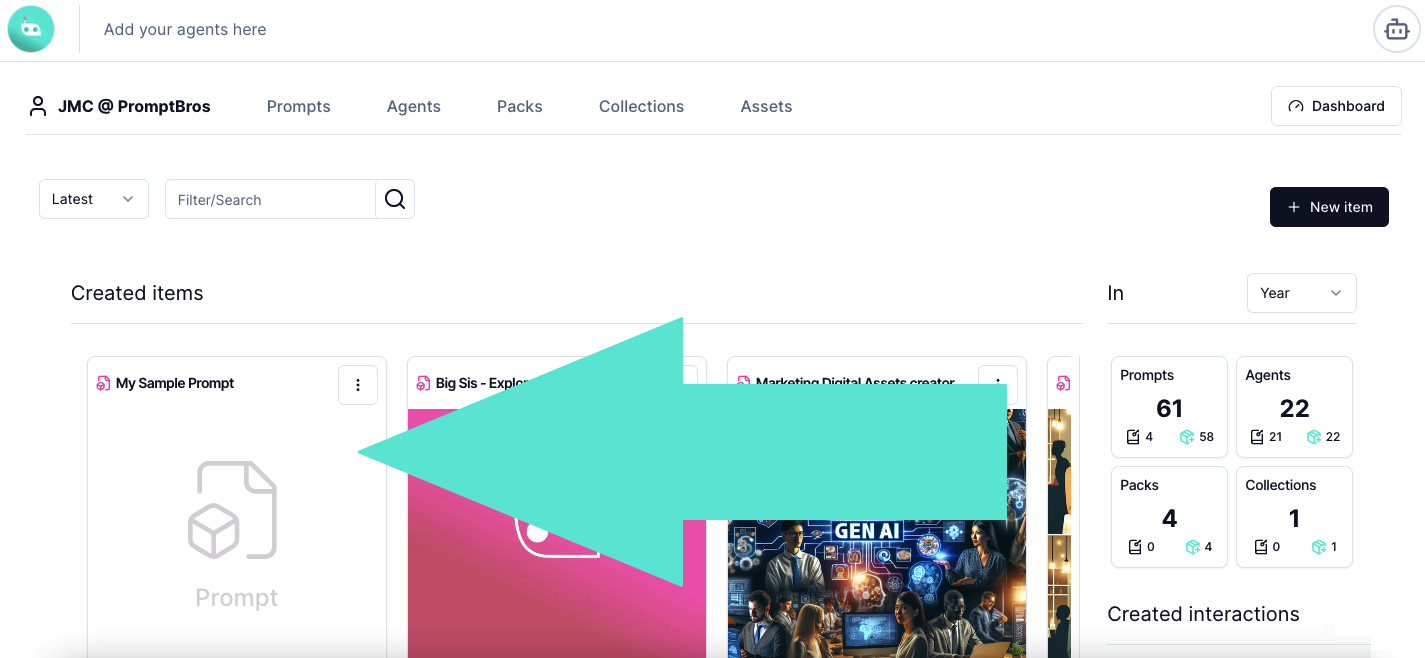
Step 2: Navigate to the Desk
In the main Desk view click + New Item and select Prompt. Or on the Prompts tab, simply click + New Prompt.
Step 3: Add basic Prompt information
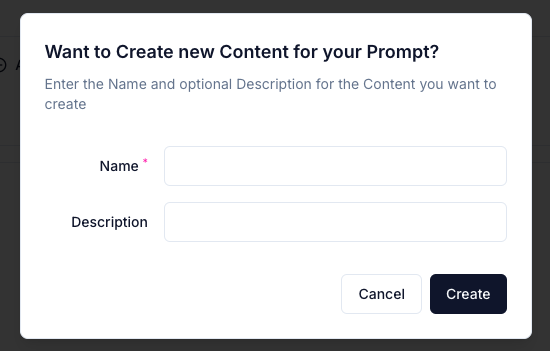
Confirm basic Prompt details
As you start creating a Prompt you get a pop-up to enter the basic data:
- Give your Prompt a Title.
- Select your Prompt Category (eg. Text-to-Text, Text-to-Image, Text-to-Code, etc.) and Model (eg. Perplexity, Claude, OpenAI's GPT, Gemini, etc.) that best suits your Prompt - see Supported Models for more info.
- You can also select a Prompt Template to follow.
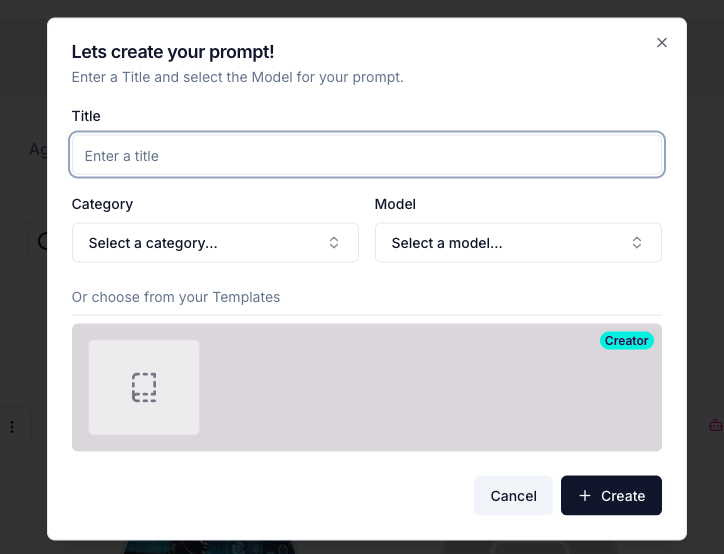
Then you can click Create and jump to the main editing view.
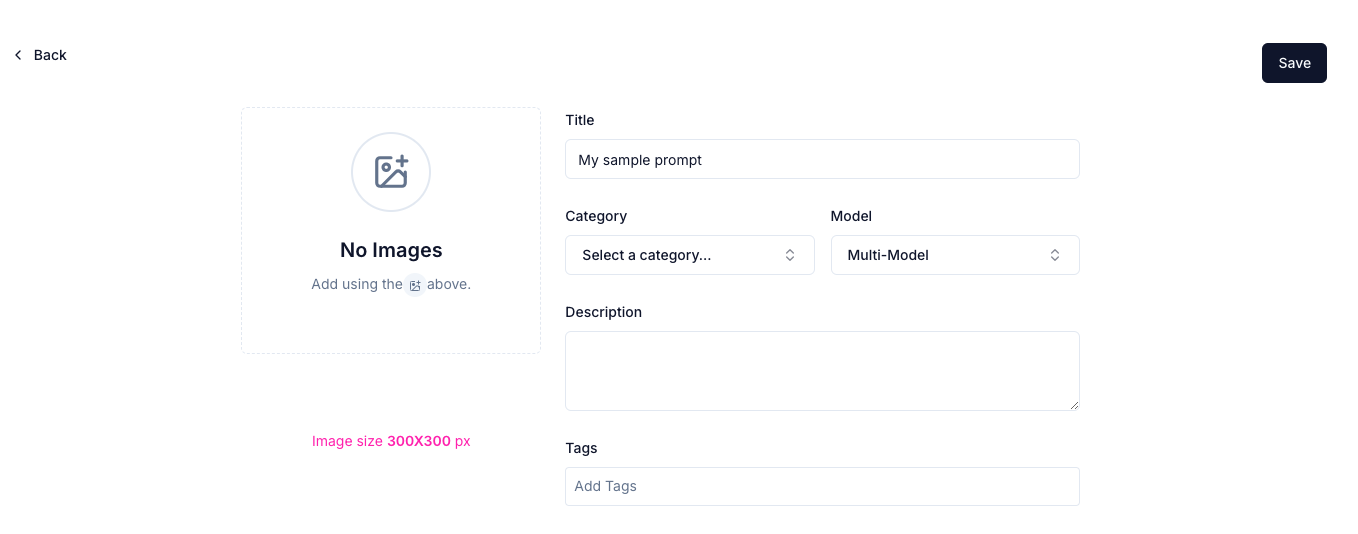
Make your Prompt Identifiable and Searchable (recommended)
In the main Prompt Overview you can:
- Upload, select, or Generate an Image to identify your Prompt - see Generate an Image. (Optional)
- Add a Description of what your Prompt is for. (Optional)
- Add one or more Tags for Prompt search and filtering. (Optional)
Step 4: Add your Prompt Content
We offer great resources for learning to write Prompts, making it is simple to learn!
Read our Ultimate Guide to Creating AI Prompts on PromptBros.ai.
Or visit Prompt Engineering for external material.
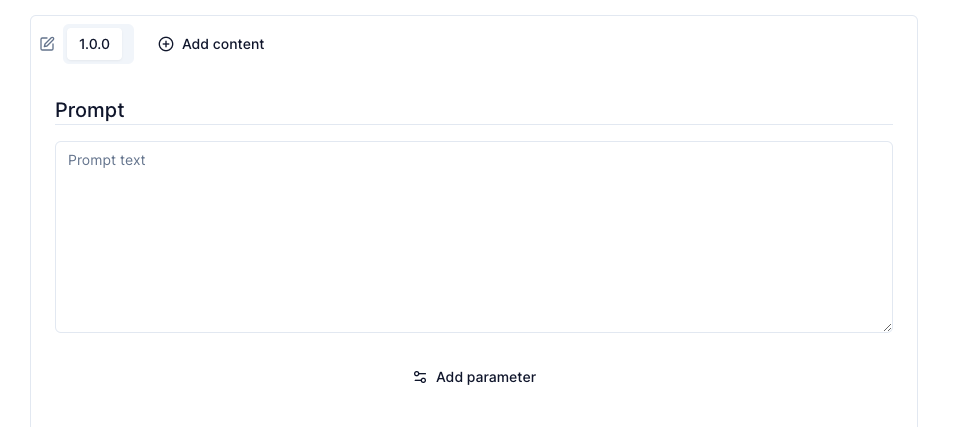
Add your Prompt text
- Add the core text input to the Prompt input box.
Prompt Contents
Contents allow separating a Prompt into any type of sub division.
You can have different Contents covering instructions such as Setps (Role, Tone, Format,...), Versions (LLM 0.1, 0.2 ) or any other useful Prompt grouping. And you edit their Name and Description for ease (default "Content 1" name is set for new Content).
With a Creator subscription, the ChatBro Mode allows multiple Content to be sent as Chained System Instructions to a Provider to build advanced AI Agents. Please see Agents for more on this.
Prompt parameters
Some AI Models allow Parameters that influence how they behave - see Models for more information on the parameters available and defaults. (Optional)
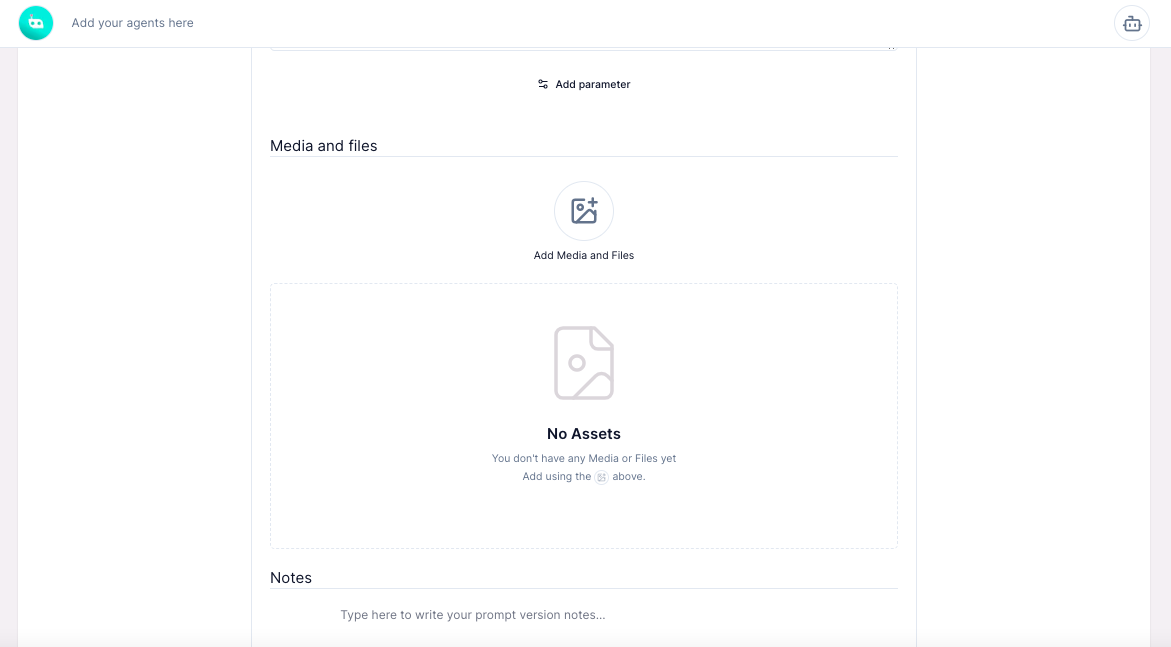
Add Files and Notes
- You can add Media Files such as images, audio and docs to use in your prompts or share as example outputs.
- You can also add Rich Content Notes including Youtube or URL links - please be mindful of our Terms & Conditions.
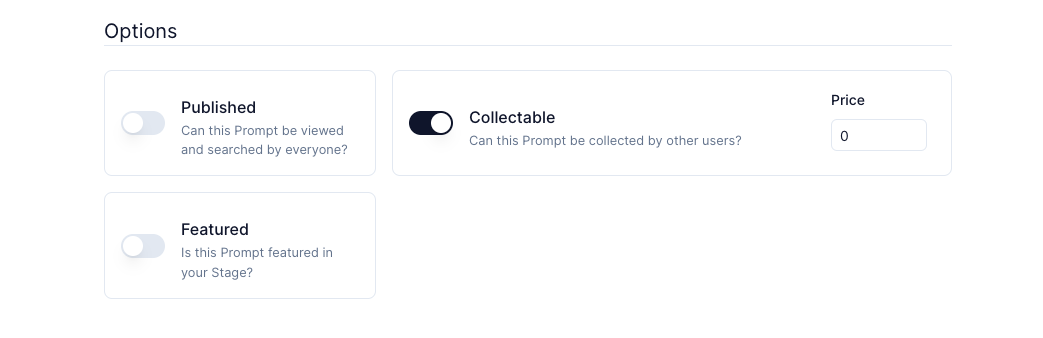
Select Your Visibility options
As a final step, you should decide who can see and Collect your Prompt using 3 simple options:
A. Published - when turned on, this means your Prompt can be viewed and searched by any user in the Library.
B. Collectable - when Turned on, this means the Prompt can be collected by any user (even Link share).
When Prompts are Collectable, they can have a Price set. In order to Collect them, Users agree to transfer Credits into your Account.
C. Featured - when Turned On, the selected Prompt will be featured in your Stage (Check Stage for more).
Find out more about the Visibility Options in our Creators and Owners Doc.
Save
Please don't forget to Save your work when you're done! Your new Prompt will appear in your Desk immediately.
Use your Prompt
Select an Agent
Prompts are ran by Agents.
The simplest way to run a Prompt is to Click on a Prompt and in the main Prompt Screen select the "Send to Agent" instructions
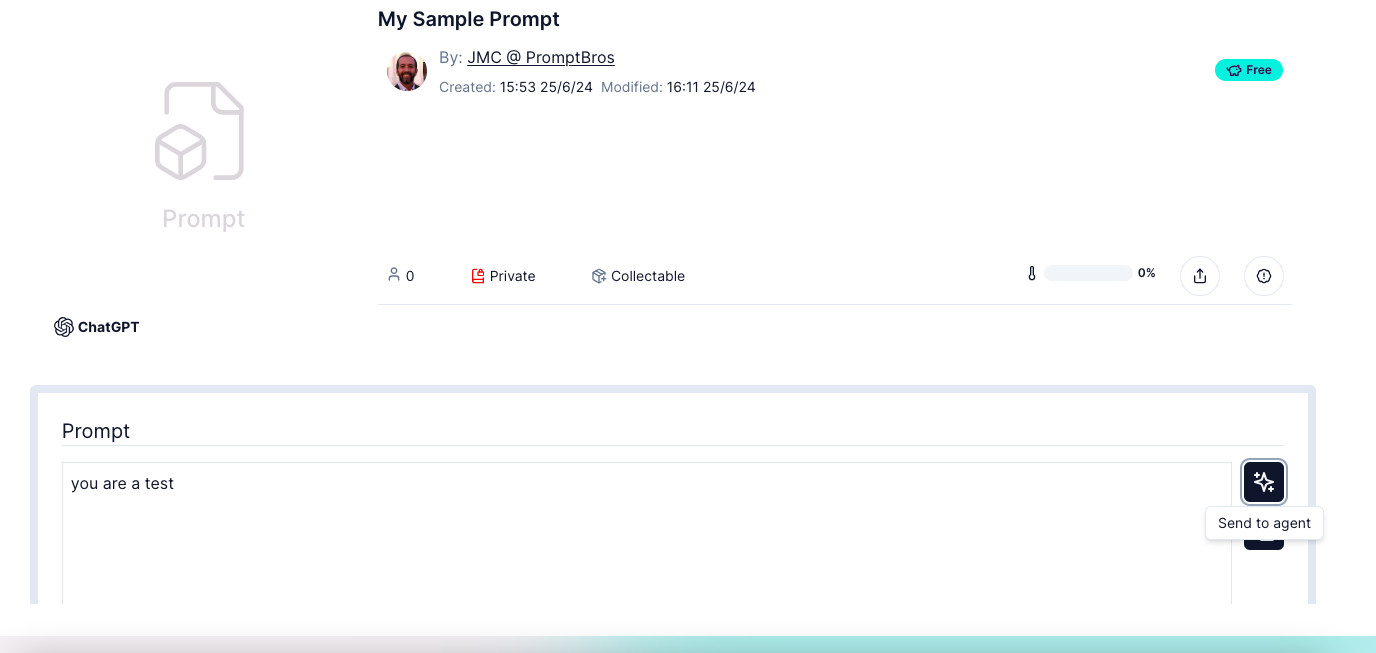
Then you will see a Pop-up appear to select a System Agents like ChatGPT or Mistral or any of our System Models.
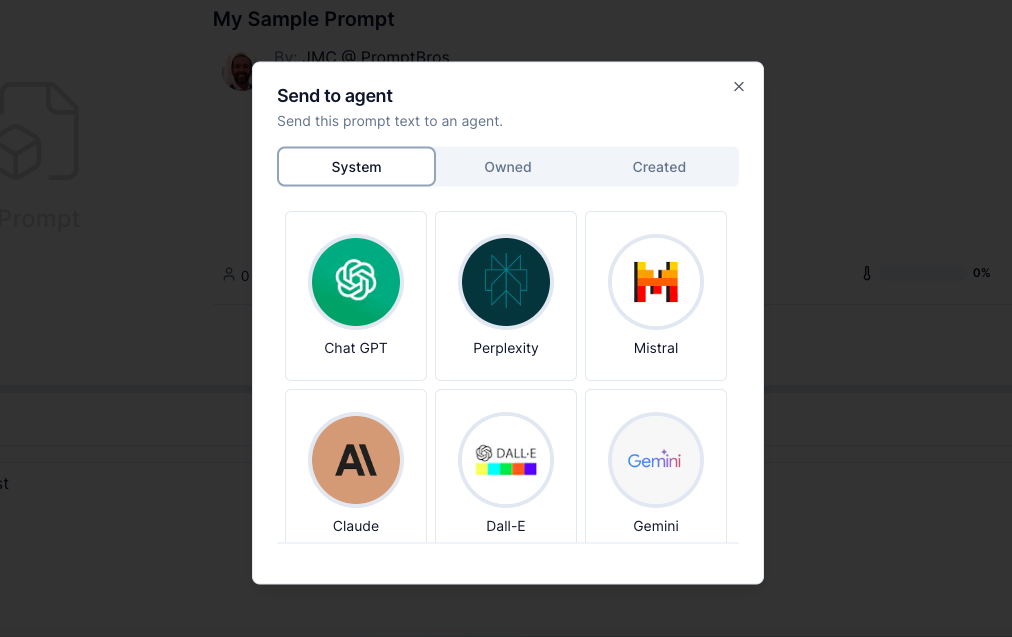
Prompts can also be sent to Agents create by Users that you have collected, and your prompt would be used following any initialising Prompts in that Agent - please see Agents and Library for more on this topic.
The Prompt is then visible.
Your Prompt Interaction history will be kept in the Agent that you have used.
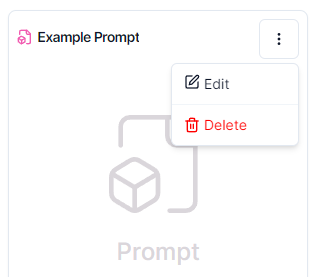
Edit or Delete a Prompt
To Edit or Delete a Prompt, simply use the "Edit" or "Delete" option via the PromptBros Desk.